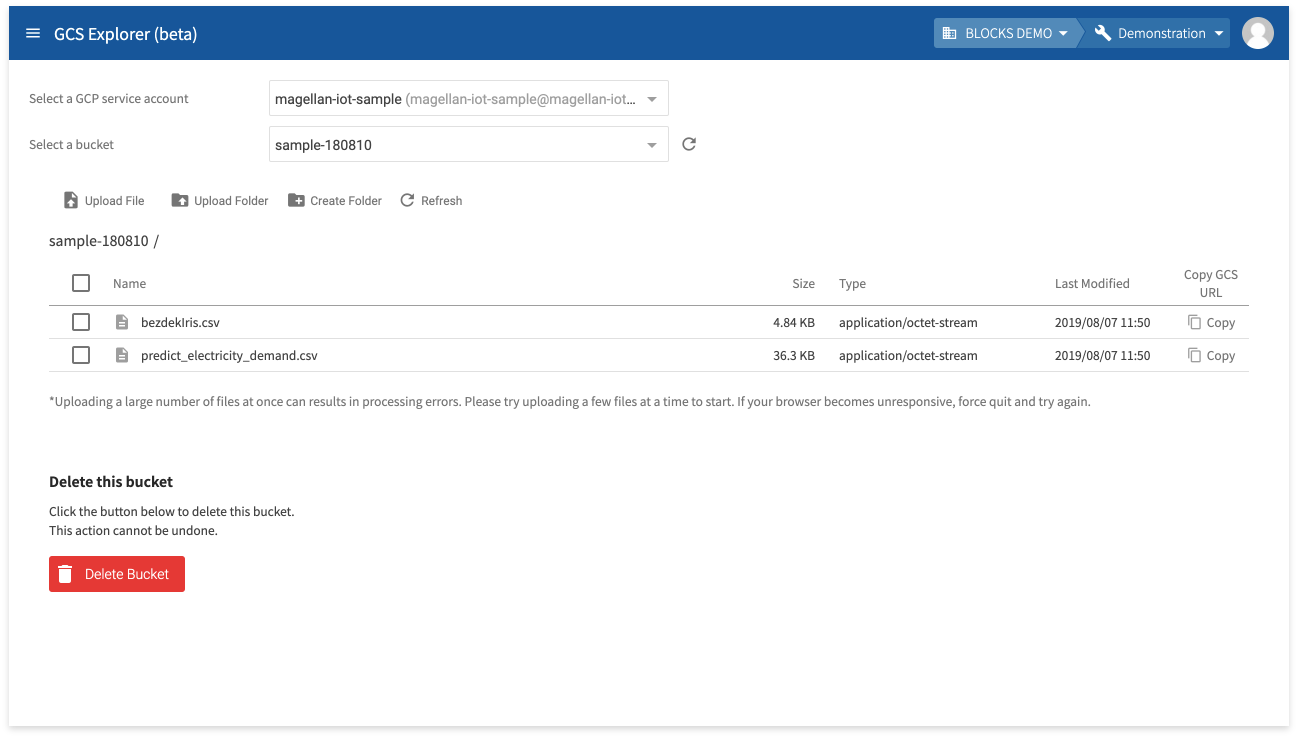
Uploading files to GCS
Uploading files to GCS
This page explains how to upload files to Google Cloud Storage (GCS) open_in_new using the GCS Explorer in BLOCKS.
The three basic steps are as follows:
- Open the GCS Explorer.
- Create a buckets (if necessary).
- Upload your files.
Open the GCS Explorer
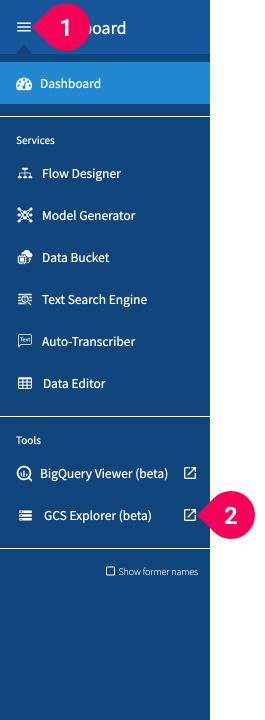
Click the menu icon (menu) in the global navigation bar (❶) then click GCS Explorer open_in_new (❷).
Create a bucket
Next, prepare a bucket open_in_new to store your files. You can skip this step if you already have an appropriate bucket for your files.
warning Buckets made for use with the Model Generator must be set to the Storage class and Location shown in this guide. We cannot guarantee that buckets with different settings will function properly.
-
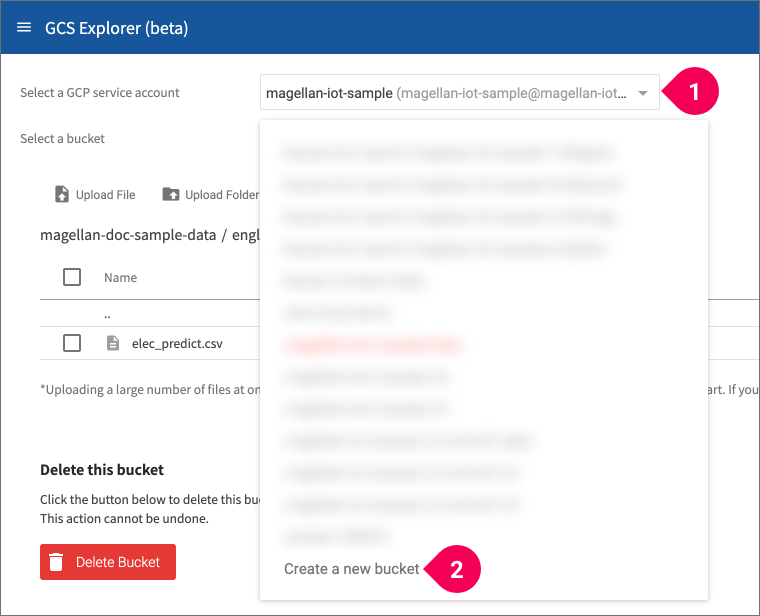
Click Select a bucket then click Create a new bucket (❶).
-
Configure the bucket name open_in_new (❶), storage class (❷), and location (❸).

Bucket names must be unique across all of the Google Cloud Platform (GCP).
Select the following for Storage class and Location:
- Storage class: Regional
- Location: us-central1
info_outline The above settings are for buckets that will be used with BLOCKS, specifically for the Model Generator. You can configure your bucket differently if it won’t be used for a Model Generator.
-
Click Create.
Upload your files
-
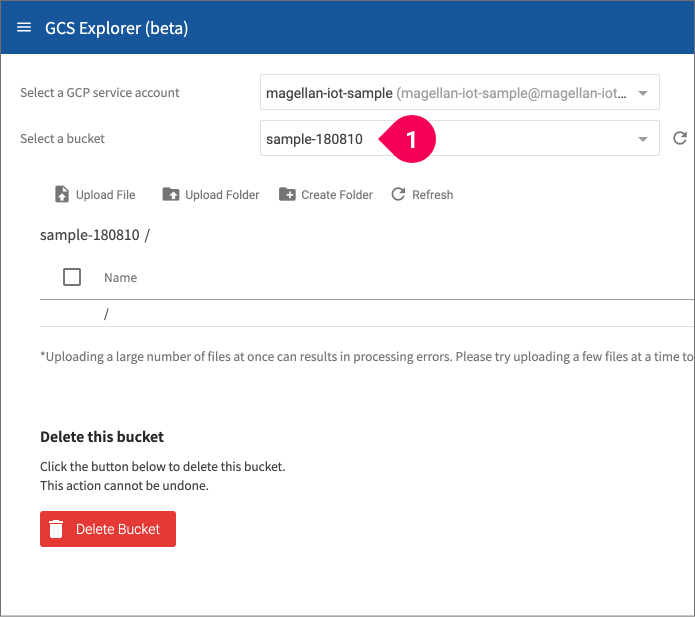
Select your bucket by clicking its name from the Select a bucket menu (❶).
info_outline You can skip this step if you just created the bucket.
-
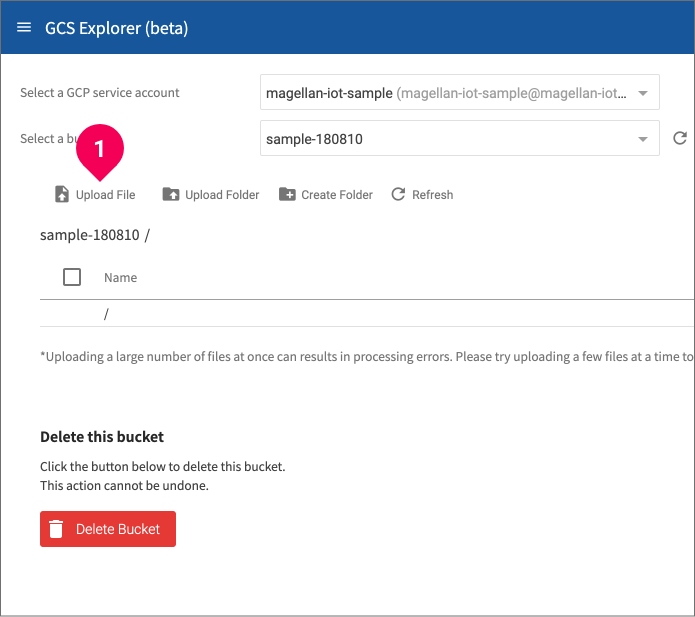
Click Upload File (❶).
info_outline You can click Upload Folder to upload an entire folder at once. (Google Chrome only)
-
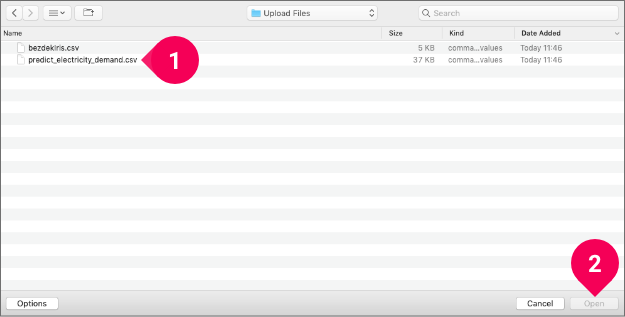
Select the files to upload.
info_outline If you clicked Upload Folder, select the folder to upload. (Google Chrome only)
The upload’s progress is shown in the bottom-right corner of the page.

You can click Stop all uploads (❶) to cancel all uploads, or click an upload’s cancel to cancel a single upload.
-
The file will be shown in the GCS Explorer when it finishes uploading.
